1. To Create a webhook go to Settings → Payment Processing & Carts → Calendly.
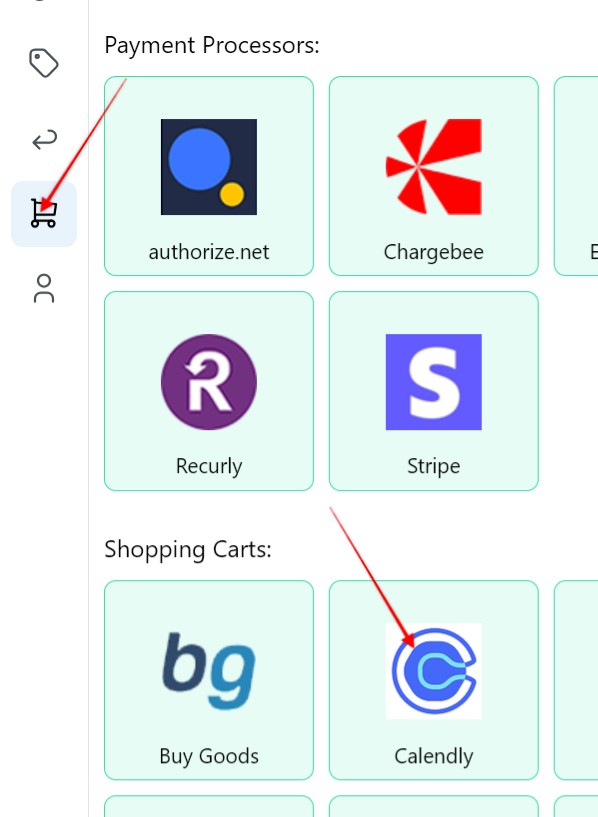
2. Fill in the following details:
A. Webhook Name
B. Funnel
C. Personal Access Token
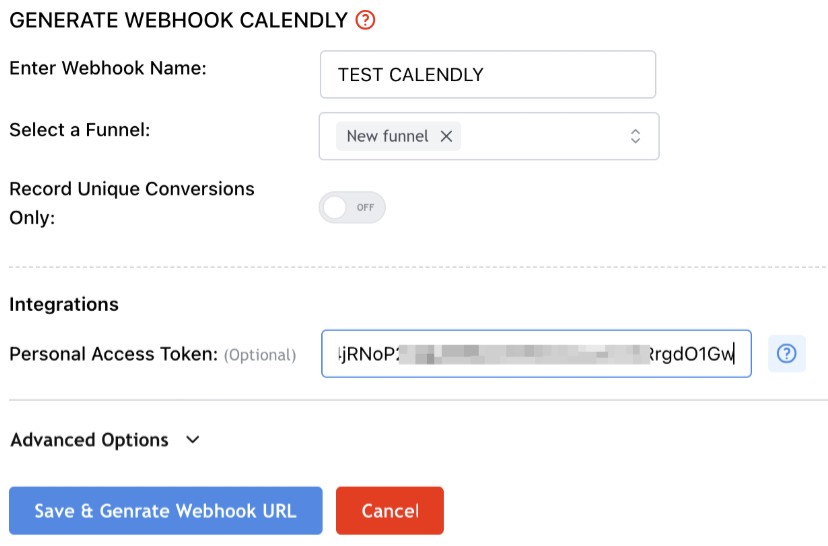
Note: To create the webhook automatically without any manual setup, enter your WooCommerce integration credentials (Store URL, Consumer Key & Consumer Secret) before clicking Save & Generate Webhook URL.
Do not click Save yet. First, obtain your API credentials as described below.
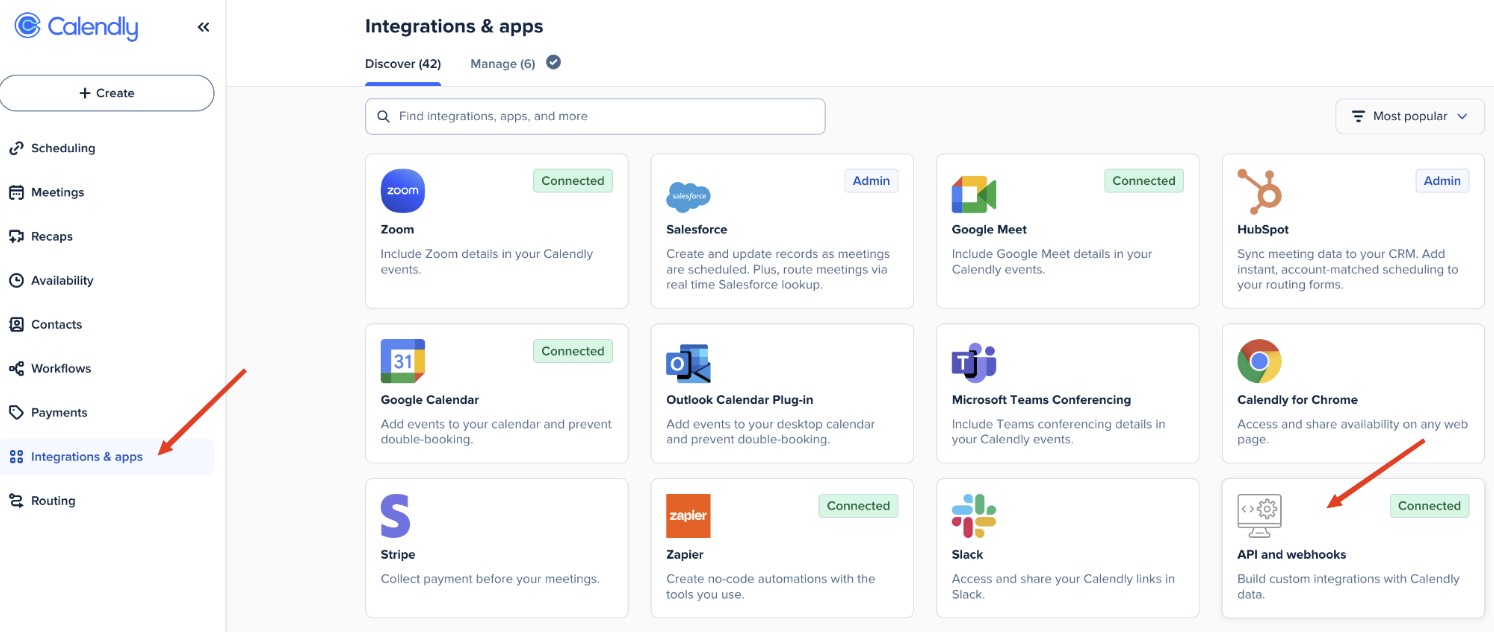
3. To get your Personal Access Token, sign in to Calendly as an Admin user, and go to Integrations & apps → API and webhooks.
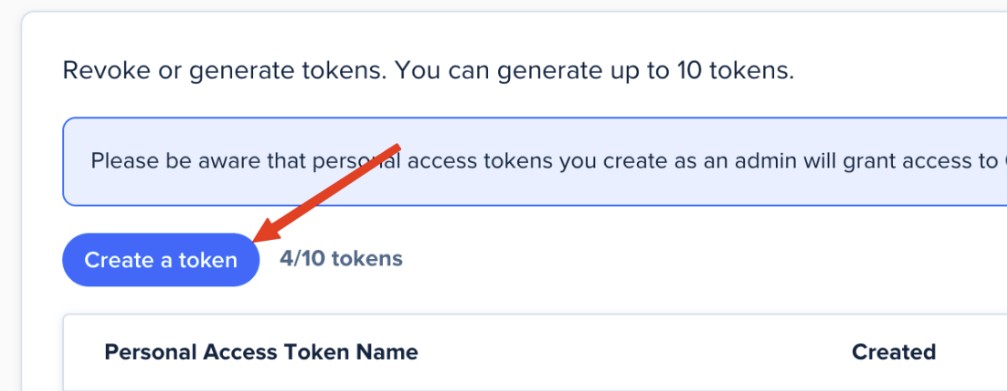
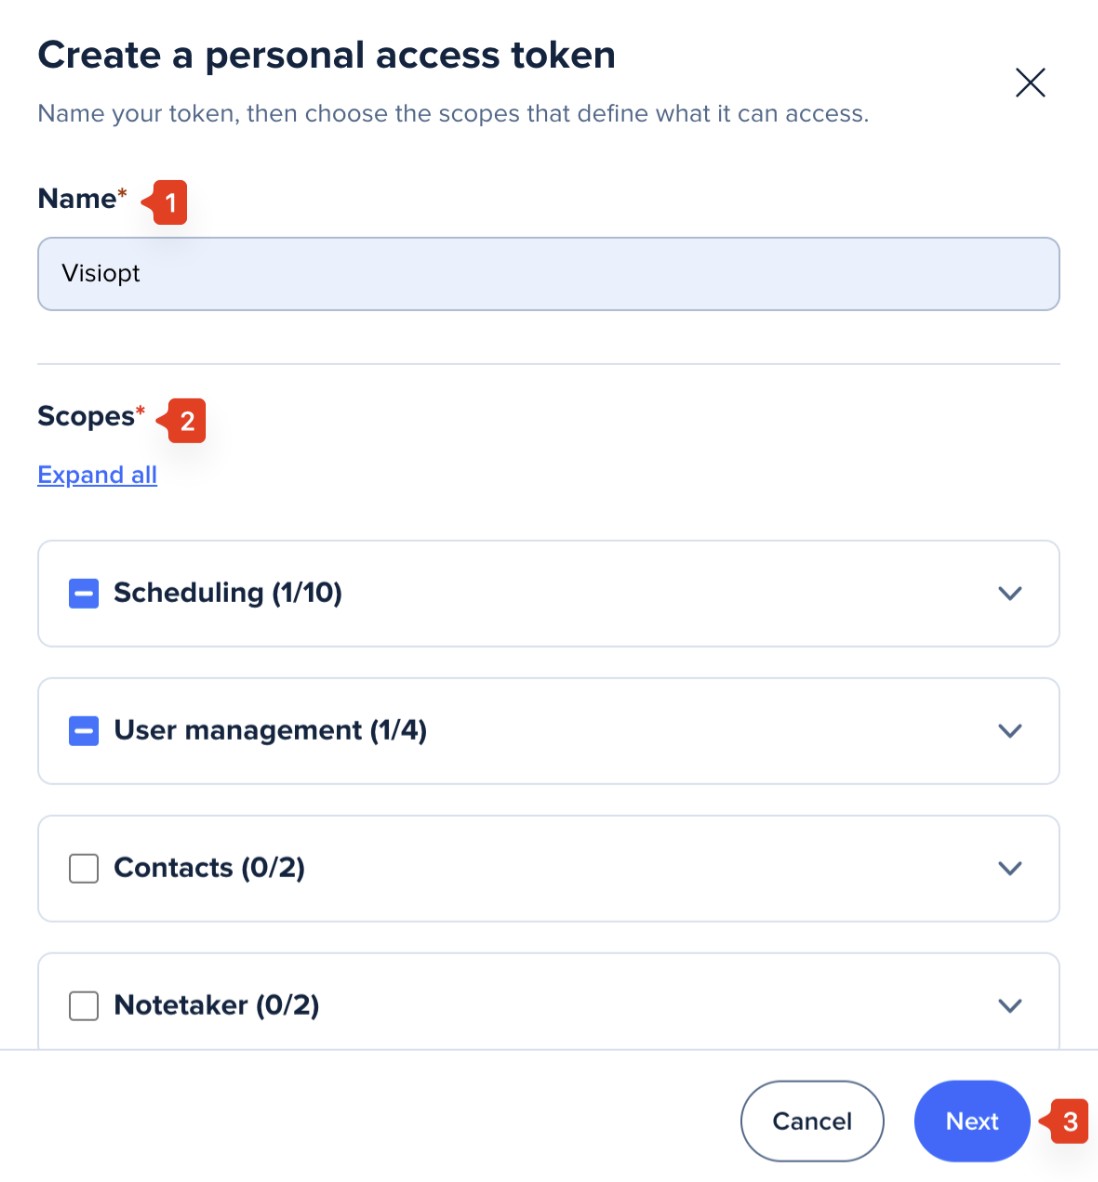
4. Click Create a token.
5. Fill in following information:
A. Enter descriptive name
B. Select the following scopes and click Next.
- Users:read
- Scheduled_events:read
- Webhooks:read
- Webhooks:write
6. In Visiopt, click Save & Generate Webhook URL.
Visiopt will generate a webhook URL and automatically create the webhook in your Calendly account.
If no error message is displayed, the webhook was most likely created successfully.
Don't want to connect via API? Create webhook manually.
Calendly does not expose webhooks in its dashboard. Webhook subscriptions are created through the Calendly API, using their "Create Webhook Subscription" endpoint.
- When you create the webhook subscription, set the request "url" field to the Visiopt webhook URL - that is where Calendly will send your events.
- Choose the events you want to receive (for example invitee.created) and the scope (user or organization).
- Follow the official Calendly documentation below for the exact request format and authentication.
Some carts and processors will send a separate webhook notification for the main sale and each upsell purchased. This will cause multiple conversions to be recorded.
For simple instructions to stop this click HERE.
Comments
0 comments
Please sign in to leave a comment.