Visiopt supports tracking two types of ClickFunnels conversions:
- Opt-in Conversions using the Contact Created webhook.
- Sales Conversions using the Purchase Created webhook.
These two webhook types allow Visiopt to track accurately both lead and sales conversions from ClickFunnels.
Depending on the conversion you want to track, simply configure the appropriate webhook type and apply the required filtering rules within Visiopt.
Opt-in Webhook Configuration
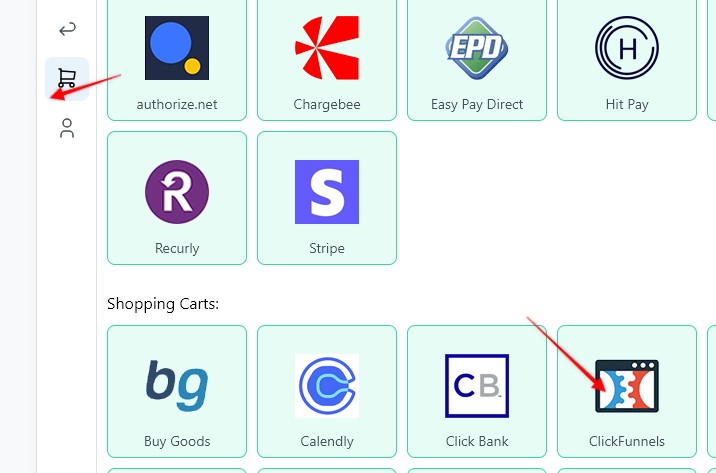
1. To create a webhook, go to the Settings page > Payment Processing and Carts > ClickFunnels
2. Enter a Webhook name, select the Funnel to associate the webhook with. Click on the Advanced Options to expand the section. Then check the Enable Rules option:
3. Select conversion Type: Opt-in.
When Opt-in is selected, Visiopt automatically loads all supported fields from the ClickFunnels Contact Created webhook.
No manual field detection is required, and no sample webhook response needs to be pasted.
The Rule Builder is immediately ready for creating rules.
4. In the fields below create a rule using the Funnel Step ID.
Example:
| Field | Operator | Value |
| Funnel Step ID | Equals | 94104192 |
It will look like this:
5. Hit Save and generate webhook URL:
6. Copy the webhook URL

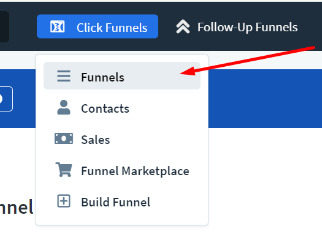
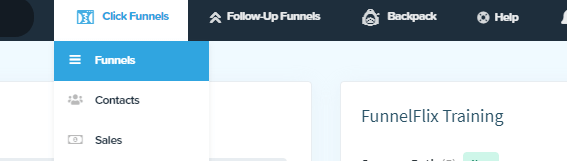
7. In the ClickFunnels interface, in the top menu, clikc on the "Click Funnels" button, then select "Funnels".
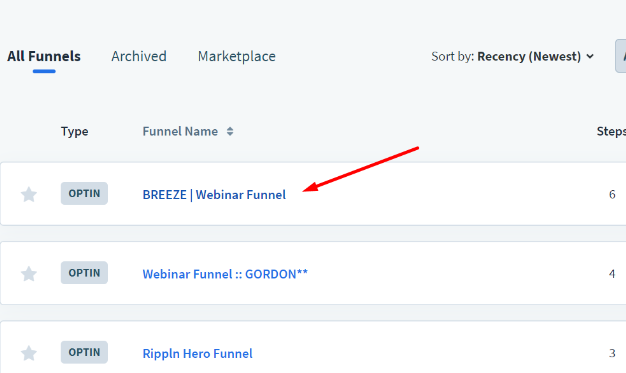
8. Then select the Funnel in which you want to set the webhook.
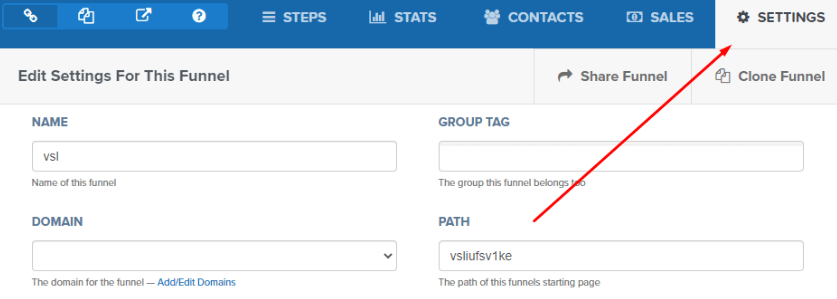
9. Log in to ClickFunnels and select "Settings" from the top menu.
10. On the bottom of the page in the "Webhooks" section, click on the "Manage Your Funnel Weebhoks" button.
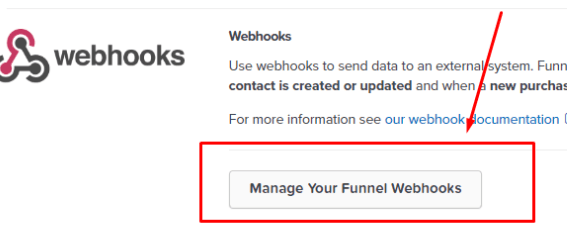
11. Fill out the form and create a webhook (paste in the url created in Visiopt).
Select contact_created as an event:
Sales Webhook Configuration
1. Create webhook inside Visiopt, and follow the steps up to the Enable Rules part.
2. Select conversion Type: Sales (Purchase created).
3. In the fields below create a rule using the Product ID.
If multiple funnels sell the same product, you can create more specific rules by combining:
- Product ID
- Funnel ID
Example:
| Field | Operator | Value |
| Product ID | Equals | 123456 |
| Funnel ID | Equals | 13385955 |
It will look like this:
4. Hit Save and generate webhook URL.
5. Log in to ClickFunnel and follow the steps show=n earlier to create a webhook.
Fill out the form and create a webhook (paste in the url created in Visiopt).
Select purchae_created as an event:
Learn how to add the VisiSmart code to ClickFunnels checkout page
1. Log in to ClickFunnels, in the top menu bar click on "Click Funnels" > "Funnels":
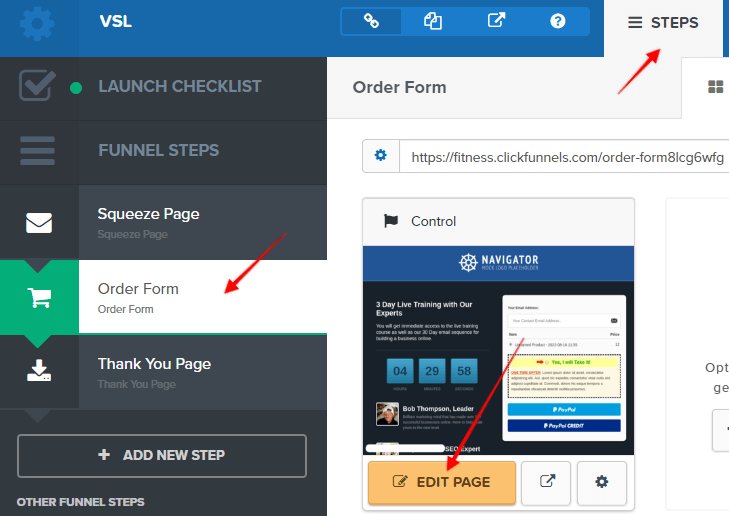
2. Click on the "Steps" tab in the top menu, then in the sidebar select "Order Form" > then "Edit Page":
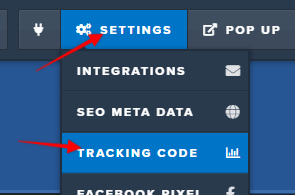
3. Click on "Settings" > "Tracking Code":
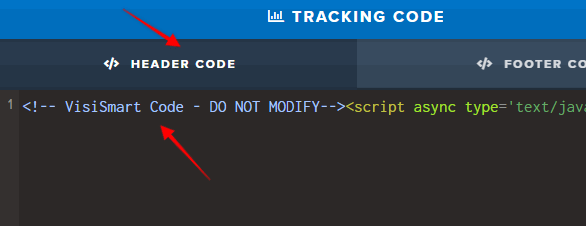
4. In the pop up in the "Headers code" tab paste in the VisiSmart code:
Some carts and processors will send a separate webhook notification for the main sale and each upsell purchased. This will cause multiple conversions to be recorded.
For simple instructions to stop this click HERE.
Comments
0 comments
Article is closed for comments.