Opt-in: Use for lead/signup/opt-in events where no purchase has occurred.
Sale: Use for purchase/transaction events where revenue is generated.
1. To create a webhook, go to the Settings → Payment Processing & Carts → WooCommerce.
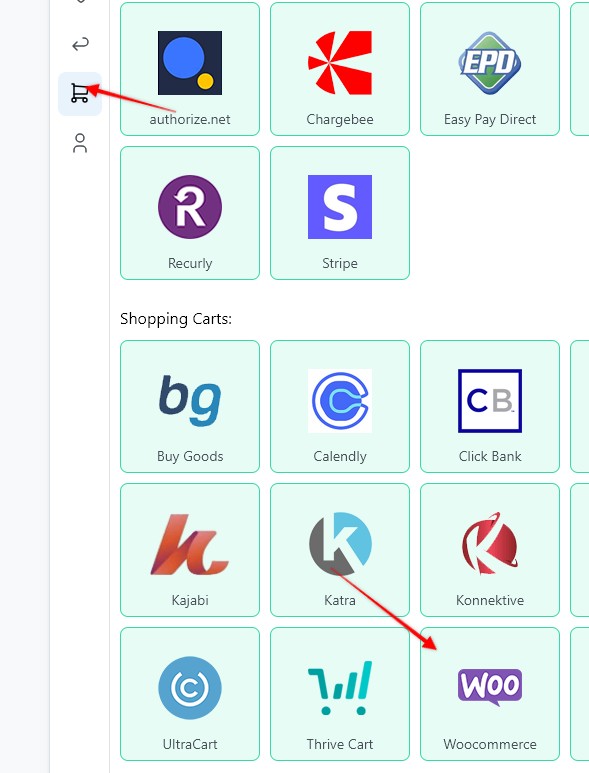
2. Fill in the following details:
- Webhook Name
- Funnel
- Store URL
- Consumer Key
- Consumer Secret
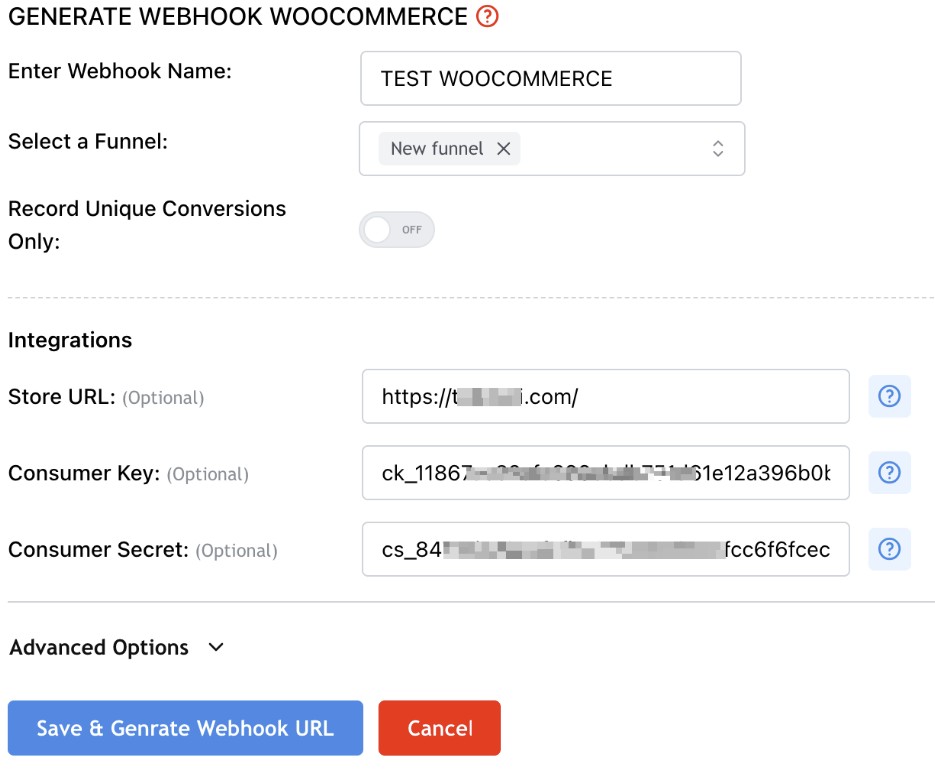
3. To set up the webhook for sale tracking, in the Integrations section, under Conversion type, select Sale (purchase).
Note: To create the webhook automatically without any manual setup, enter your WooCommerce integration credentials (Store URL, Consumer Key & Consumer Secret) before clicking Save & Generate Webhook URL.
Do not click Save yet. First, obtain your API credentials as described below.
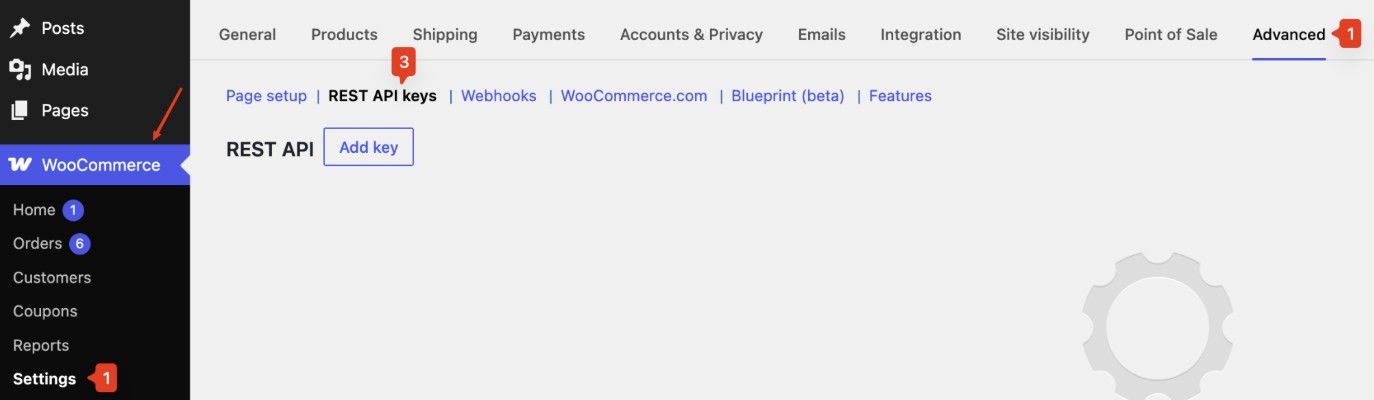
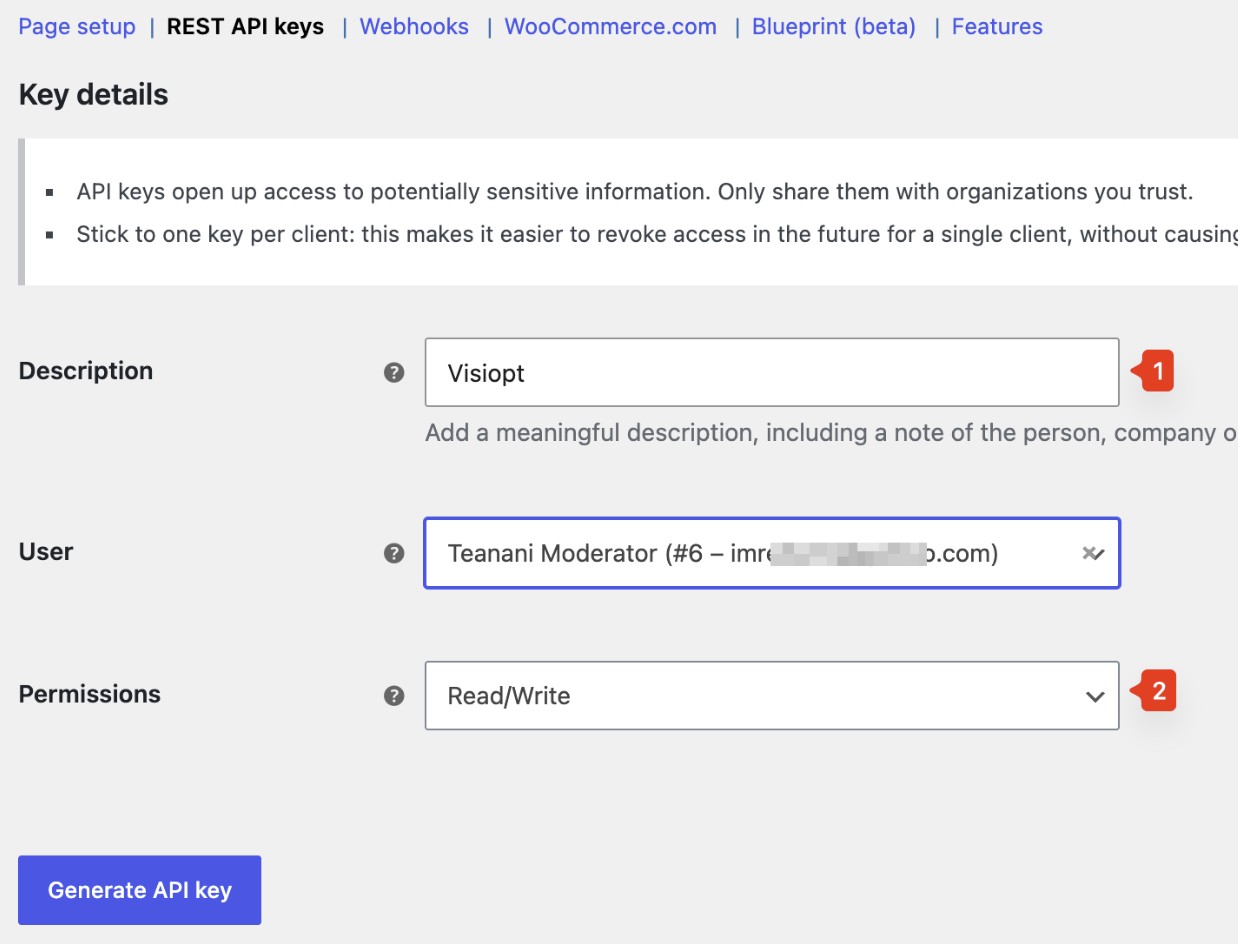
4. Log in to your WooCommerce and navigate to Settings → Advanced → Rest API Keys.
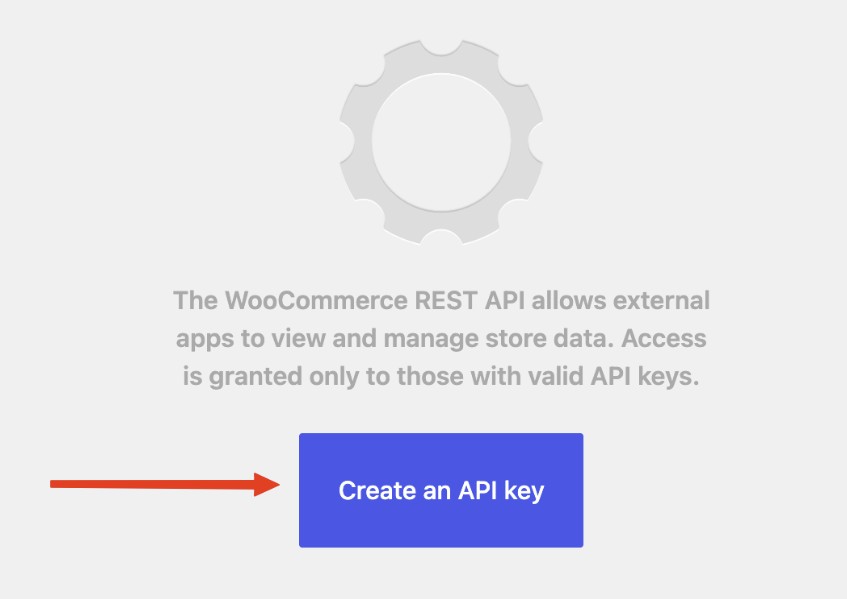
5. Click Create an API Key.
6. Fill in the following details:
A. Enter description
B. Select Read/write as permissions.
C. Click Generate API Key.
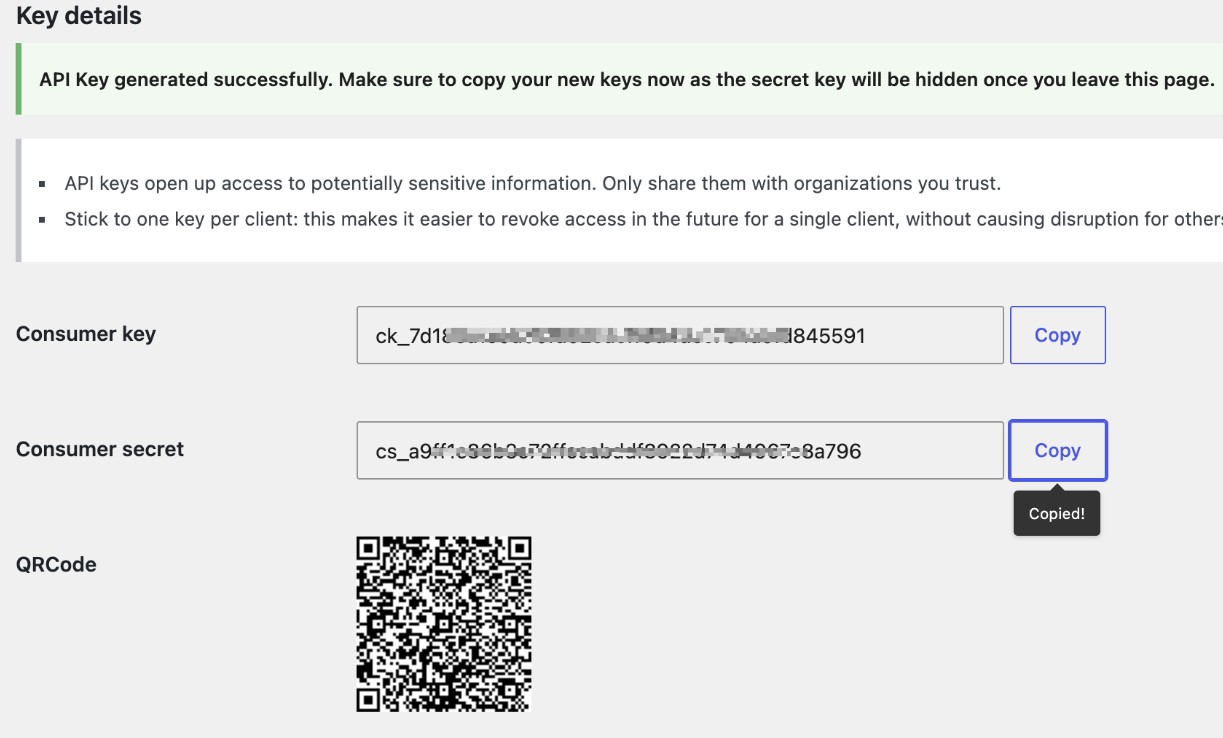
7. This will give you Consumer Key & Consumer Secret. Copy them and paste in Visiopt
8. In Visiopt, click Save & Generate Webhook URL.
Visiopt will generate a webhook URL and automatically create the webhook in your WooCommerce account.
If no error message is displayed, the webhook was most likely created successfully.
Verify the Webhook
To confirm that the webhook was created successfully: Log in to your WooCommerce account.
Navigate to Settings → Advanced → Webhooks.
Look for the webhook endpoint created by Visiopt.
If you can see the Visiopt webhook URL in the list, your integration is complete and ready to use.
Don't want to connect via API? Create webhook manually.
1. In Visiopt hit Save & Generate Webhook URL without entering the API details. Then copy the generated URL.
2. Log in to your WooCommerce account and navigate to Settings → Advanced → Webhooks → Click Add a Webhook
Fill in the following details:
- Webhook Name: Enter any descriptive name
- Status: Select Active.
- Topic: select Order created as topic.
- Delivery URL: Paste the webhook URL generated by Visiopt
- API Version: Select the latest API version.
Click Save.
Your WooCommerce webhook is now connected to Visiopt and ready to send events.
Some carts and processors will send a separate webhook notification for the main sale and each upsell purchased. This will cause multiple conversions to be recorded.
For simple instructions to stop this click HERE.
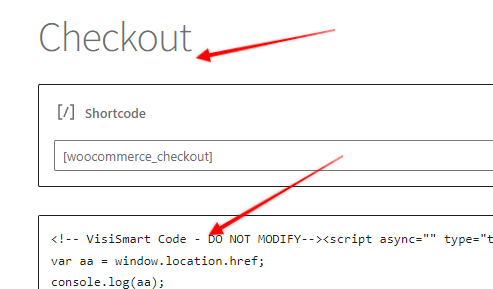
Learn how to add the VisiSmart code to Woocommerce checkout page
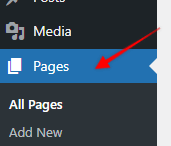
1. Log in to Woocommerce, then in the left sidebar click on the "Pages" link
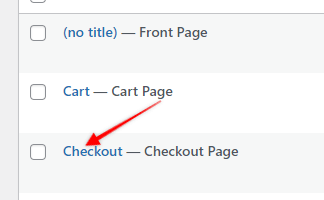
2. Click on your checkout page to edit it
3. Paste in the VisiSmart code
Comments
0 comments
Please sign in to leave a comment.