Opt-in: Use for lead/signup/opt-in events where no purchase has occurred.
Sale: Use for purchase/transaction events where revenue is generated.
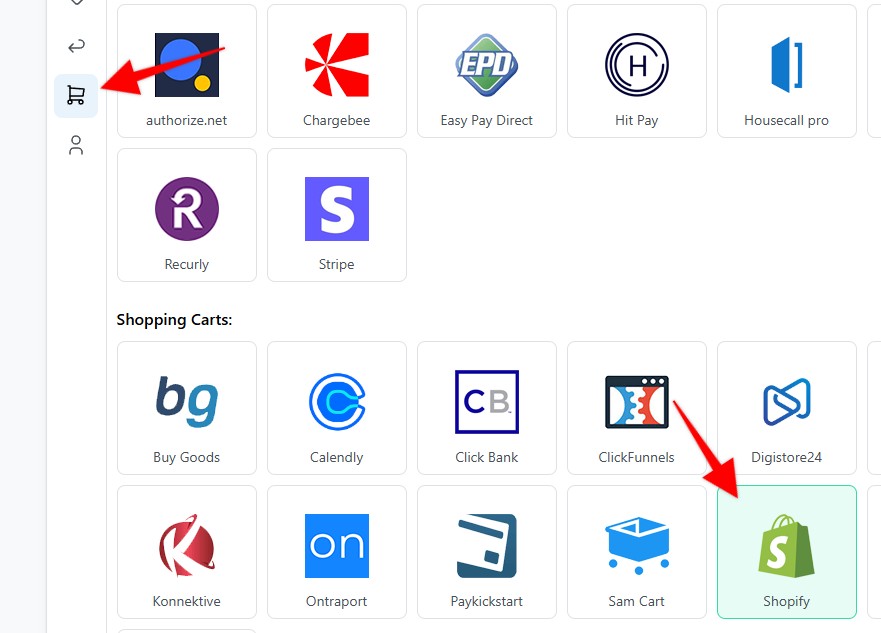
1. Set up your Webhook on the Settings page > Payment Processing and Carts > Shopify
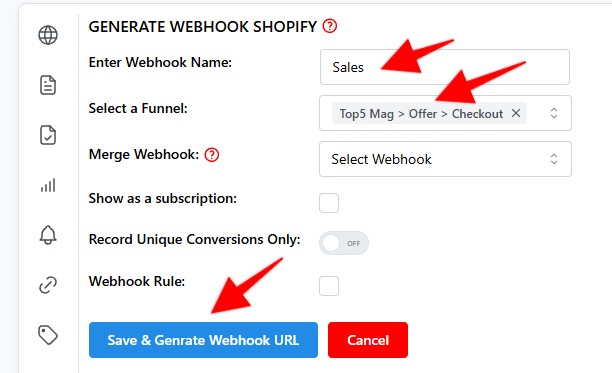
2. Enter a name for your Webhook > Select funnel to apply the webhook to > Hit Save & generate Webhook URL
3. To track Opt-in conversions, in the Conversion Type section select Opt-In (Lead).
- Verify that Opt-In is selected.
4. Click Save & Generate Webhook URL. Copy the webhook URL.
Note: If your Shopify app is already properly connected to VisiOpt, you do not need to complete the webhook setup steps below. The required webhook configuration is handled automatically through the connected Shopify app.
Only follow the steps below if your Shopify app is not connected or if you need to configure the webhook manually.
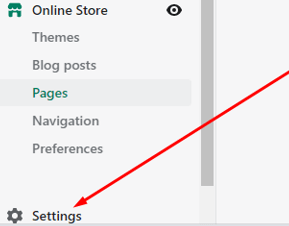
5. Log in top Shopify, and click on the settings link in the bottom of the left sidebar
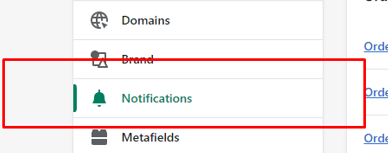
6. Click on "Notifications"
7. Click on the "Create webhook" button
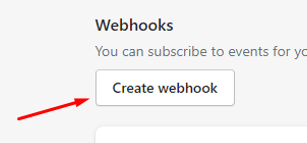
8. For Event, select Customer creation.
Some carts and processors will send a separate webhook notification for the main sale and each upsell purchased. This will cause multiple conversions to be recorded.
For simple instructions to stop this click HERE.
Comments
0 comments
Article is closed for comments.